Dart Board Cabinet
Problem
My wife got a free dart board from Facebook. I wanted to put up the dart board. However, I am not the good. I imagine the kids have even less experience. I did not want holes in the drywall all around the dart board.
Methodology
I used an inspiration picture. I think the picture came from Ryobi Nation. The difficult thing about building from a picture is that you do not have dimensions. The fun part about this project is that I build it from spare parts lying around the house. The only thing I had to buy was the darts.
Photos
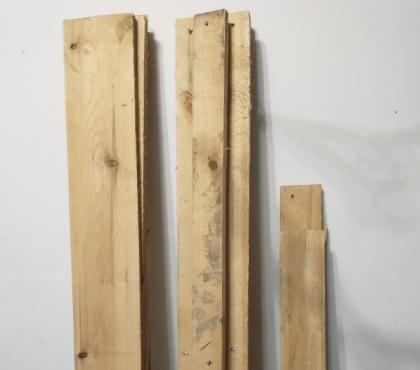
This was the next to last woodworking project. I had only had a dozen cedar boards left to work with. This is my before picture.
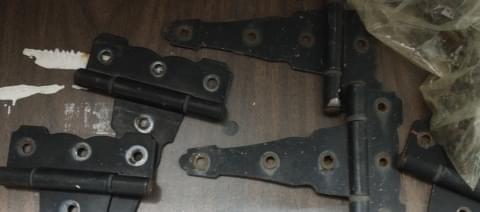
When we first moved into our home, the shed had gate hinges on it. I replaced these with piano hinges to make it a bit more secure. It helps when a thief cannot break in with just a cordless screwdriver. That left these hinges in my spare parts pile.
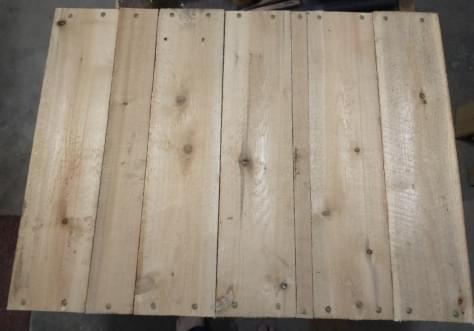
First I build a two by four frame. I like to keep things simple. It was twenty-four inches wide by thirty-two inches tall. Then, I nailed boards across the back. I reused the nails that were in the scrap fence boards to attach them to the frame. I was careful to plan ahead far enough to waste less wood and leave longer wood for the front.
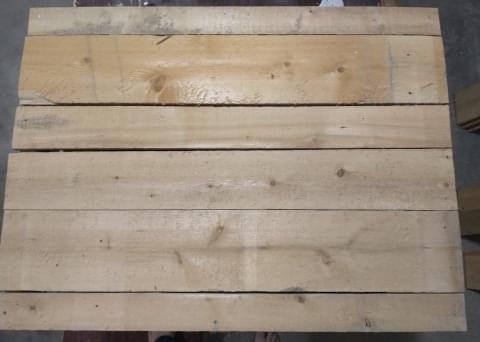
The front was a little tricky. When dry fitting the hinges, I realized that I would have to leave a small strip of wood on the edges of the cabinet. These hinges were intended to be flat in their closed position. I also had to leave enough of a gap for the doors to be able to open without getting hung up. Unfortunately, I do not have a picture of the hinges installed.
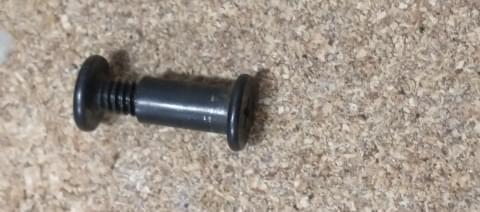
Mounting the dart board in the cabinet presented a unique challenge. I wanted to be able to move the cabinet around with the dart board inside. The dart board came with a nail slot on the back. I ended up finding this unique faster in my scrap pile. It has a screw head on both sides. It was perfect for hanging the dart board in the cabinet.
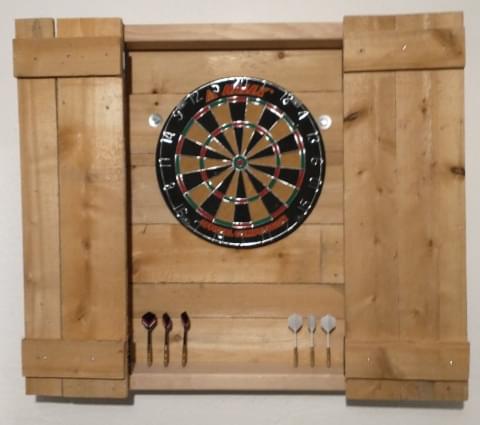
Here is the final picture of the dart board on the wall in the house. I mounted the cabinet to the wall with lag bolts into studs. It was probably overkill, but the cabinet was rather heavy with all that wood.
Amazing Tools
I really only used a square, circular saw, pencil, and tape measure on this project. I feel like these are pretty basic tools. The most amazing thing I did was use the square to guide the circular saw to make square cuts.
Surprise Issues
- I did not have enough wood. I had to use ordinary two by fours for the base frame.
- The way the hinges work, they had to be mounted with a strip of wood down the side.
- The hinge screws were too long. They would have poked through to the other side of the boards.
- The front needed to be attached to each other. I solved problem 3 and this problem by putting boards on the inside of the door at the same level of the hinges.
- I lost my tools several times even though I was working in a small area.
- Attaching the dart board to the cabinet proved to be a bit of challenge. I wanted to be able to move the cabinet with the dart board in it.